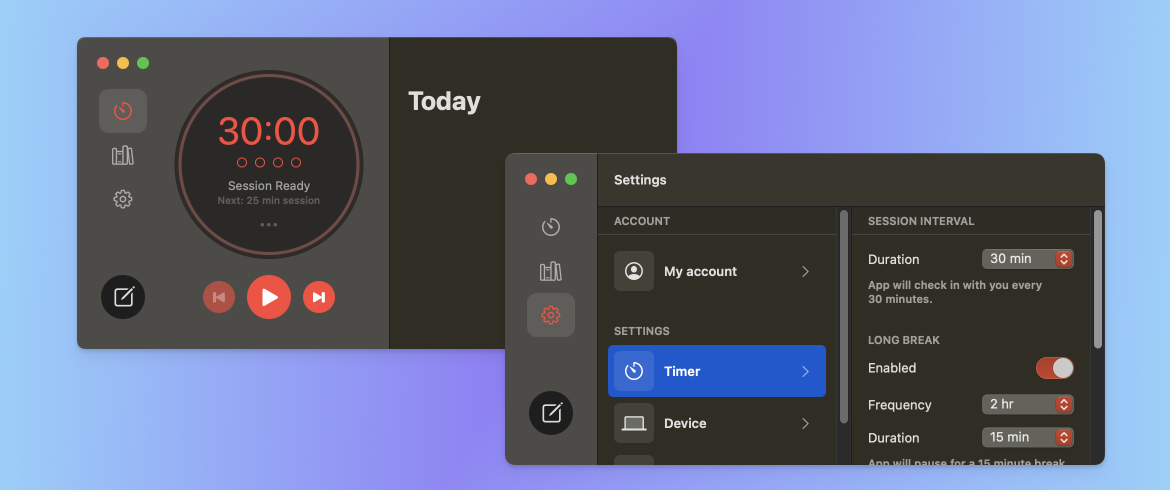
Accent and tint colors are currently in transition in SwiftUI. The term accentColor had a few different meanings, depending on context. The accentColor() method could assign a global tint color throughout your app. But the .accentColor property has different behaviors on iOS and macOS. For example, in macOS, SwiftUI only applies accentColor properties if the user chooses Multicolor in System Preferences. These inconsistencies make it easy to understand why the accentColor() method was recently deprecated.
What’s harder to understand is the new approach for applying a global accent color. Apple recommends using the AccentColor color set in the Asset Catalog. This is easy for a beginner to work with, but it’s a really primitive solution.
Tangentially, SwiftUI doesn’t have a global styles system akin to web (CSS) and Android (XML styles). As a work-around, I created a custom Style class to define global style for stuff like frame sizes, padding, and colors. It’s especially helpful for developing a native “iOS macOS” app since each platform scales differently and has unique color libraries. (I’m still pretty new to Swift and SwiftUI, so maybe there’s a better approach.)
The Solution
Here’s how to apply global tint & accentColor in SwiftUI. It’s a solution for apps that target recent updates, iOS 16.4 and macOS 13.3, or later. With a little work (or in some case, a lot) it can also be dynamic.
AppColor class
I created an AppColor class. It extends ObservableObject and will be used throughout my app as an EnvironmentObject.
class AppColor: ObservableObject {
  @Published var tint:Color = .systemRed
}
Custom controls
The benefit of this approach is I can apply my tint color to non-native controls when needed:
@EnvironmentObject var appColor: AppColor

Button (action: {
	},label: {
	Image(systemName: image)
	.foregroundColor(appColor.tint)
	.font(.system(size: Style.TabBarButton.fontSize))
})
Global tint & accentColor
That works for custom controls. What about native controls? It’s simple. You do it the same way as before, but with a twist. You can’t use an EnvironmentObject in your App.swift, but you can use an ObservedObject 😁
@main
struct MyApp: App {

var body: some Scene {

  @ObservedObject var appColor = AppColor()

  WindowGroup {
    AppView()
    .environmentObject(AppColor())
    .tint(appColor.tint)
    .accentColor(appColor.tint)
  }
}
The .tint() method will apply your tint color to all iOS and some macOS controls. The .accentColor() method is necessary for any macOS controls that don’t yet have a .tint property.
Can I make it dynamic?
Yes, but…
.tint and .accentColor are only partially “finished” in SwiftUI. Yes, they will update the global colors when appColor.tint changes to a new color. But some child controls will not automatically update to the new color.
In most cases, you can fix this by manually assigning a tint color:
Button("My Label") {
}.tint(appColor.tint)
In other cases, it will be a lot more work. For example, .tint will not update a macOS Picker. You may have to create a custom Picker style instead (I don’t know for sure; it’s a lot of code).
Dynamic color test
For completeness-sake, here’s a simple solution to testing dynamic colors:
@EnvironmentObject var appColor: AppColor

@State var colors: [Color] = [.systemRed, .systemBlue,
  .systemCyan, .systemGray, .systemMint, .systemPink,
  .systemTeal, .systemBrown, .systemGreen, .systemIndigo,
  .systemOrange, .systemPurple, .systemYellow]

@State var index = 0

Button (action: {
	self.index += 1
	if (index >= colors.count) { self.index = 0 }
	appColor.tint = colors[index]
}
My Style class
You may have noticed in my first example that I used Style.TabBarButton.fontSize to specify the font size for my TabBarButton icon. I’m experimenting with using a Style class to manage global styles. This is particularly useful for “iOS macOS” apps because they use different scales and colors.
Here’s an example of how I’m doing styles:
class Style {

  #if os(macOS)
    class Button {
      static let height: Double = 36.0
      static let cornerRadius: Double = 10.0
      static let opacityPressed: Double = 0.75
    }
    class TabBarButton {
      static let height: Double = 44.0
      static let width: Double = 48.0
      static let fontSize: Double = 18.0
      static var cornerRadius: Double {
        Button.cornerRadius
    }
  }

  #else // iOS
    class Button {
      static let height: Double = 48.0
      static let cornerRadius: Double = 10.0
      static let opacityPressed: Double = 0.75
    }
    class TabBarButton {
      static let height: Double = 56.0
      static let width: Double = 64.0
      static let fontSize: Double = 25.0
      static var cornerRadius: Double {
        Button.cornerRadius
      }
    }
  #endif
}
It’s not elegant, but it’s far better than nothing. One benefit is that it reduced a lot of #if os(macOS) code from my views. It also uses cascading property values like CSS and Android styles. Finally, it’s a class so my app will refer to a single instance, instead of making copies as a struct.
I’ll try to follow up with more details on styles (and colors) later on.
Thanks for reading! Be sure to follow me on Mastodon and Twitter.
No Comments.